

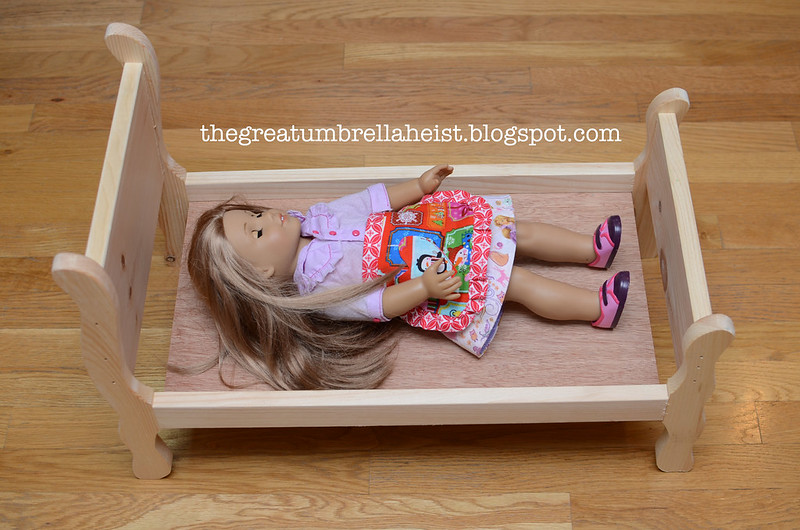
When American Girl dolls made their debut, I was too old for them. Although, my mamaw would argue that no one is ever too old. I actually didn't even know anything about these dolls until a few years ago and now I have little girls who really enjoy them. For Christmas last year, the girls each received a doll (McKenna, Julie and Caroline) and this year, we added Saige, Rebecca and Ruthie to our house. The girls had picked out their favorites months and months ago, which made Christmas shopping easy. Emily also received Emily, who was retired Wednesday, from her godparents.
At some point, I decided that it would be fun to give the girls doll beds to go along with their new dolls. If you shop American Girl, you know that a doll bed will cost you approximately $100, which was more than I wanted to spend. Going the DIY route seemed the most logical way to go. Finding time for the DIY route was another story.
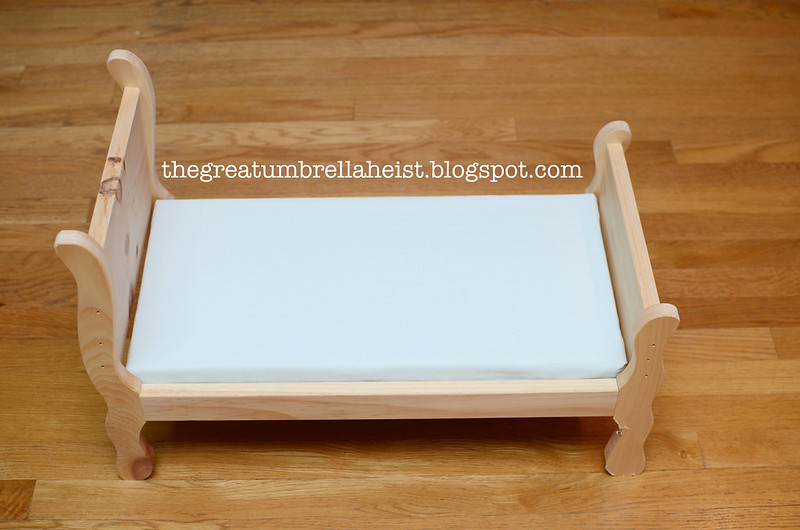
To start, I bought three of these beds for $20 each at Mill Stores.
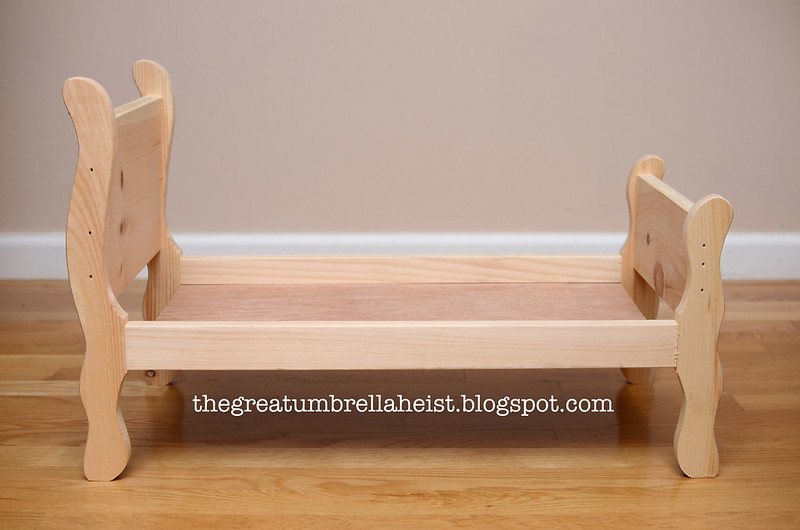
The perfect size for American Girl or any other 18" dolls.
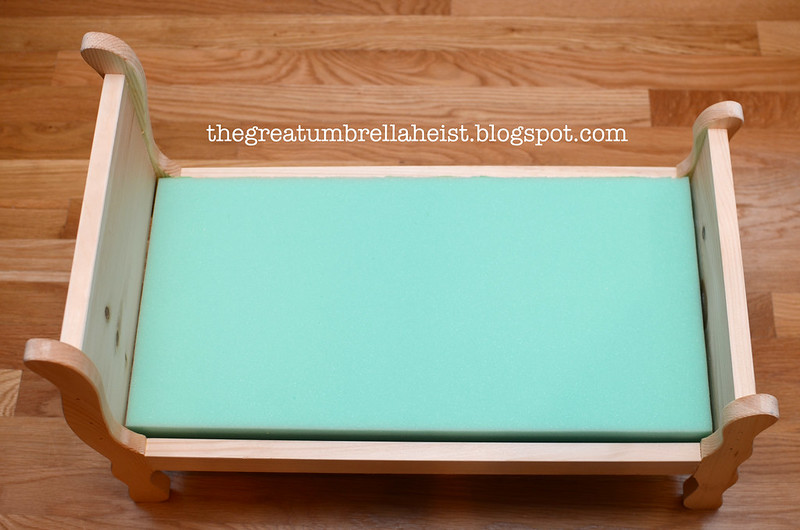
Shopping at Joann isn't exactly convenient so when I go, I like to take a huge list of everything I need with me. The day I went to find something for the doll bed mattresses, I had a massive list. I was running short on time and came across these pieces of foam in the back of the store. They cost about $13 each. I hadn't noted the widths of the beds, only the approximate length so I took a chance and bought two, thinking I could glue pieces together if need be.

I'm usually never this lucky but these foam squares were exactly what I needed. I cut them right down the middle (using a steak knife worked best) and couldn't have asked for a better fit.
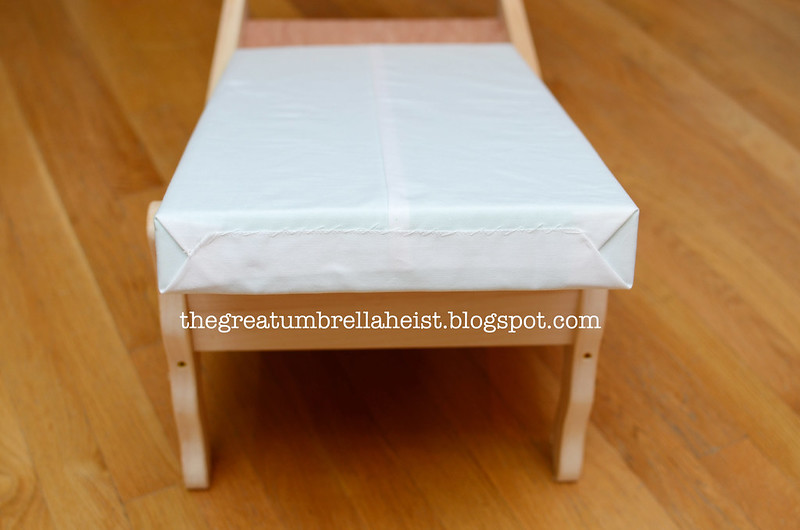
I wanted to cover the foam mattresses with something somewhat "permanent" for a few different reasons. I wanted to protect the foam from damage but I wanted the option of changing the bedding in the future. Also, the green was sort of showing through one layer of fabric. I had some of this medium weight white fabric, which has just the right amount of stiffness, so I made a fitted tube and then stitched the ends closed after folding them up, just like wrapping a present.
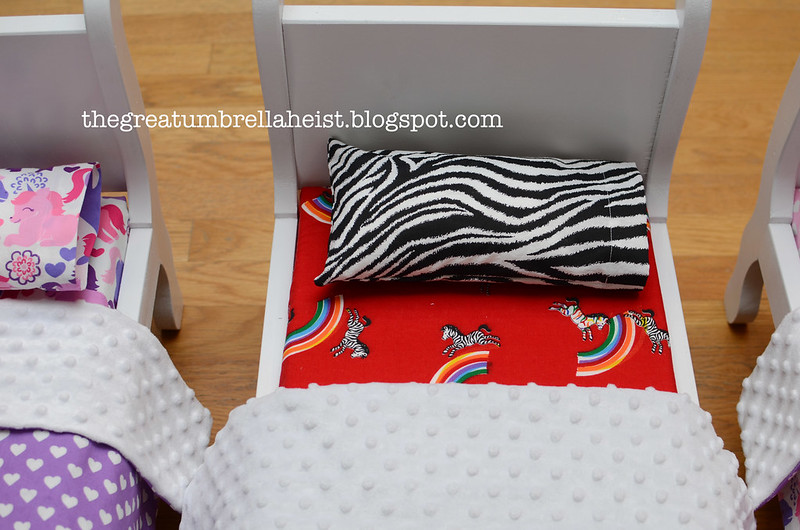
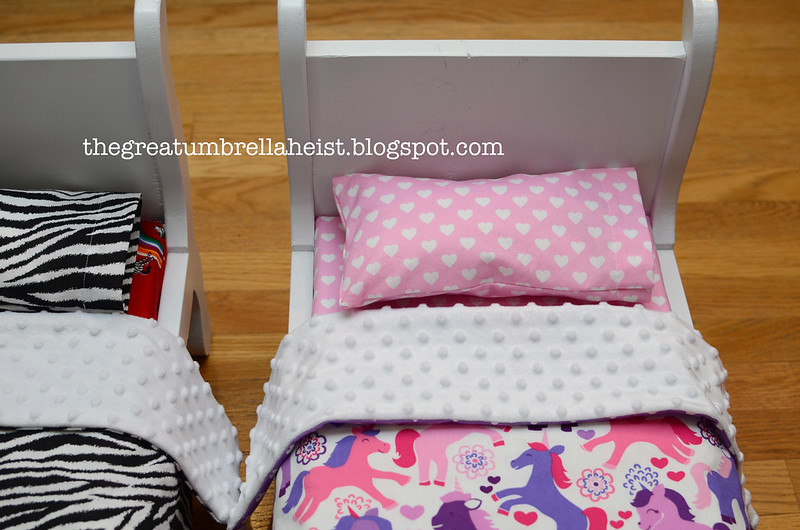
So let's discuss fabric choices for the bedding. I told the girls that another mom on the computer wanted to sew a blanket for her daughter's doll and was asking what fabric other girls would want if their dolls had blankets. I had pulled some Michael Miller fabric out from my completely unorganized sewing area. Both Emily and Allie loved the unicorns. Anna's been a zebra girl for a long time so my fabric choice for her was somewhat easy. I hemmed and hawed for awhile over what to pair up with the zebra print before I remembered the special zebra fabric from my mamaw. I had been hesitant to make clothing with it and this project was perfect.
This is how I cut the fabric for the fitted sheets.
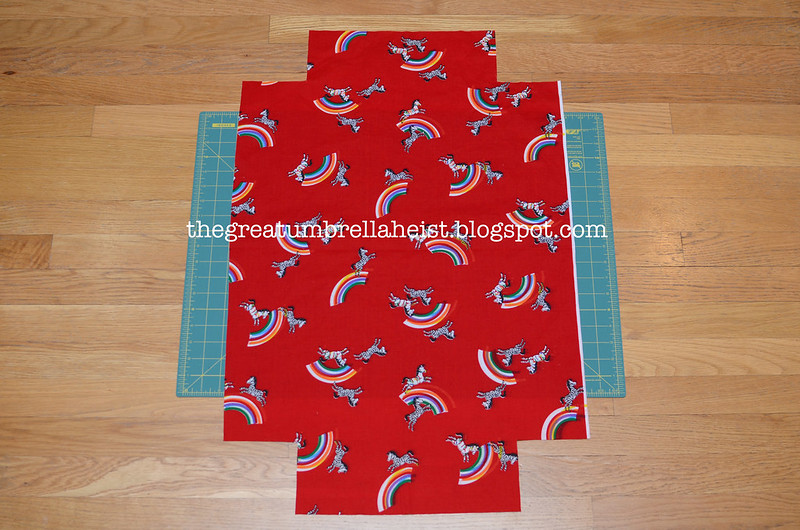
Once you sew the sides of the cut-outs together, you have a box-like shape which, if you measured correctly, will fit perfectly over the mattress. I should have added elastic to the portion under the mattress but I didn't want to waste time figuring out the best way to do so. Instead, I folded the ends and added some snaps to keep the fitted sheet in place. It can easily be unsnapped and removed if it needs to be cleaned or if we want to change up the bedding.

I whipped up some small pillows using white flannel and placed them inside the pillow cases.
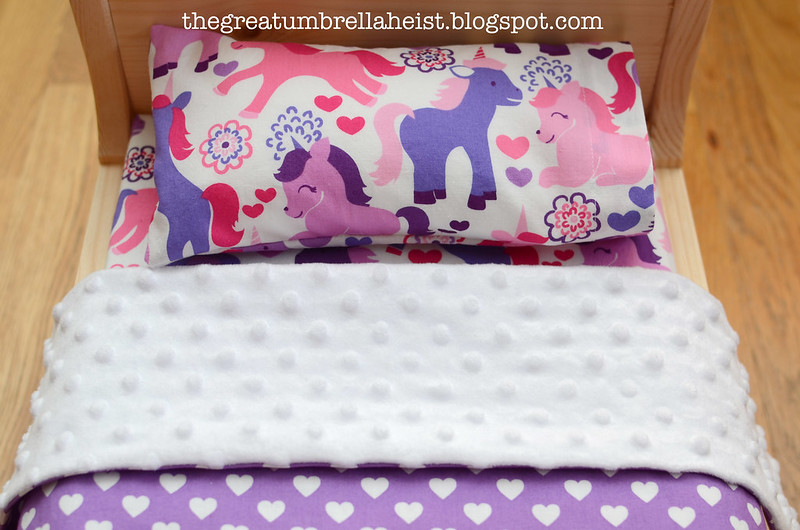
I love the soft minky fabric I used for the underside of the blanket.
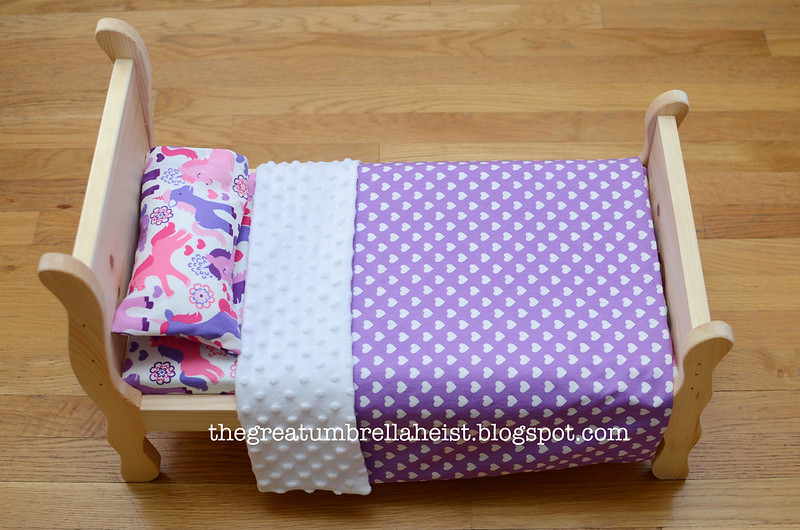
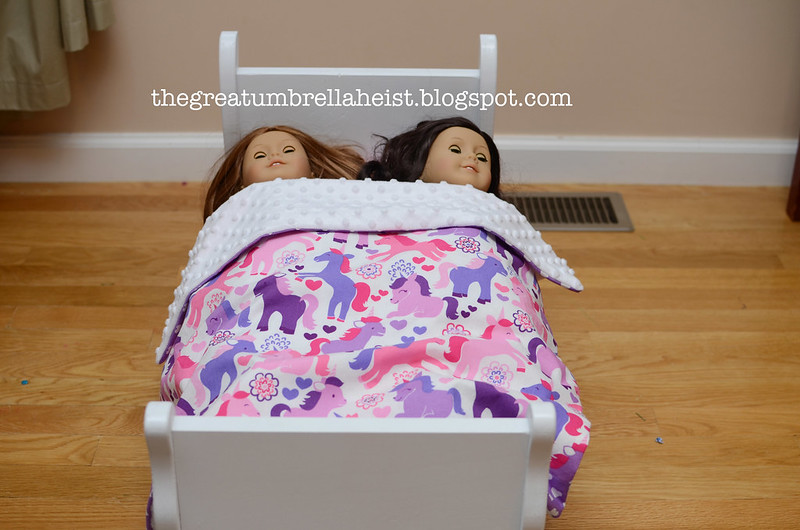
The beds are even big enough to fit two dolls. Emily and Ruthie have been sharing this one.
I have so many other projects I want to do but I'm about to start my busiest busy time at work. Ack! Maybe I can finish a doll winter coat (or two) before spring.
8 comments:
Love them!!! Great Job :)
You are very talented. They are very lucky to have you as their mom.
These are adorable! May I ask-would this project be easy for a sewing novice?
Love your blog.
These are so adorable - great job!
Thanks! I don't think the sewing projects for this were difficult. The hardest part was the fitted sheet for the mattress and deciding how to do it and making sure the measurements were precise. I probably spent as much time cutting the fabric as I did sewing.
These are just lovely, Sarah. And your photos spectacular. So clear and crisp. You are so talented with the sewing and the running and the photography and taking care of the household. I know it's hard!
They look great!!
Love your sheet idea? My daughter has the same thickness in her doll mattress...what are your sheet measurements and corner cuts?
Thank you for your help.
Post a Comment