
Remember this post from many (too many) months ago when I promised to teach you all how to use your camera in manual mode. Well, time obviously slipped away from me. Recently, I've come across a few photographer bloggers offering online photography lessons for a fee or selling e-books for a fee. One great aspect of the internet is that there is a lot of information out there that is FREE.
Don't get me wrong. There are some books that are great references to have. Most photographers would recommend that you read Understanding Exposure by Bryan Peterson and I found the Field Guide by David Busch to be a nice expansion to my Nikon D50's manual.
For some, learning in a classroom setting versus doing it on their own is easier. And that's fine. Unfortunately, I know quite a few people who have taken photography classes or online sessions but it's not enough for them to transition to shooting in manual all the time and then they forget what they have learned.
I honestly believe that the key to improving is to practice, practice and then practice some more. You can read all you want but if you don't apply what you are learning on a regular basis, it will be lost. (Who remembers what they learned in Calculus 101?) I am self taught and with these posts, I'll spew out what I know in basic terminology along with tips as to how I remember it. I'm going to keep this very, very basic.
So let's jump right in!
The first lesson is to understand what ISO, shutter speed and aperture are and what they do. These three functions need to work together in order for your photo to be properly exposed. Think of them connected as a triangle. Remember that you need light in order for your camera to produce a photo.
ISO
The easiest way to describe ISO is to think of old school film. Do you remember buying film to use in your camera? The common "film speeds" were 100, 200 or 400. The film box would say to use 100 for outdoor use in bright sun while the 800 was for low light. Does any of this sound familiar or am I the only one old enough to have used a film camera growing up? (And for many, many years as an adult.)
ISO is your camera's sensitivity to light. The higher the number = your camera is going to be able to process more light.
BUT keep in mind that the higher the number also means that more grain is going to appear in your photos.
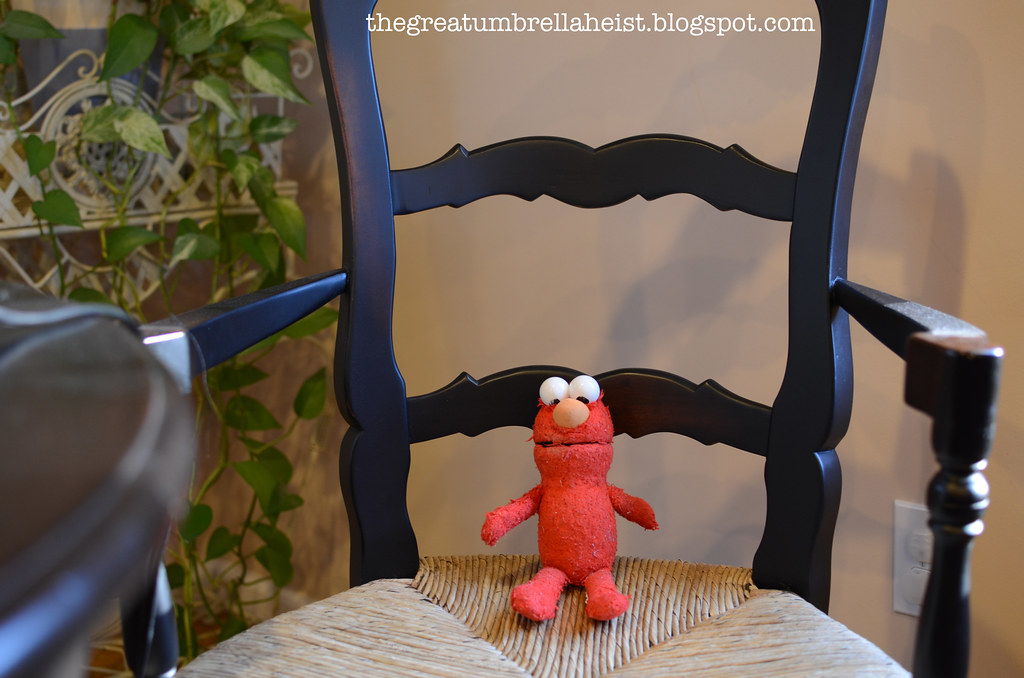
Example - Here are two photographs straight out of the camera with no edits (except to add a watermark,) The first was taken with an ISO of 320 and the second with an ISO of 4000. (We will discuss the aperture and shutter speed settings for both pictures in the next lesson.) Elmo volunteered to be my model since no child of mine would sit still for that long.
ISO 320
ISO 4000
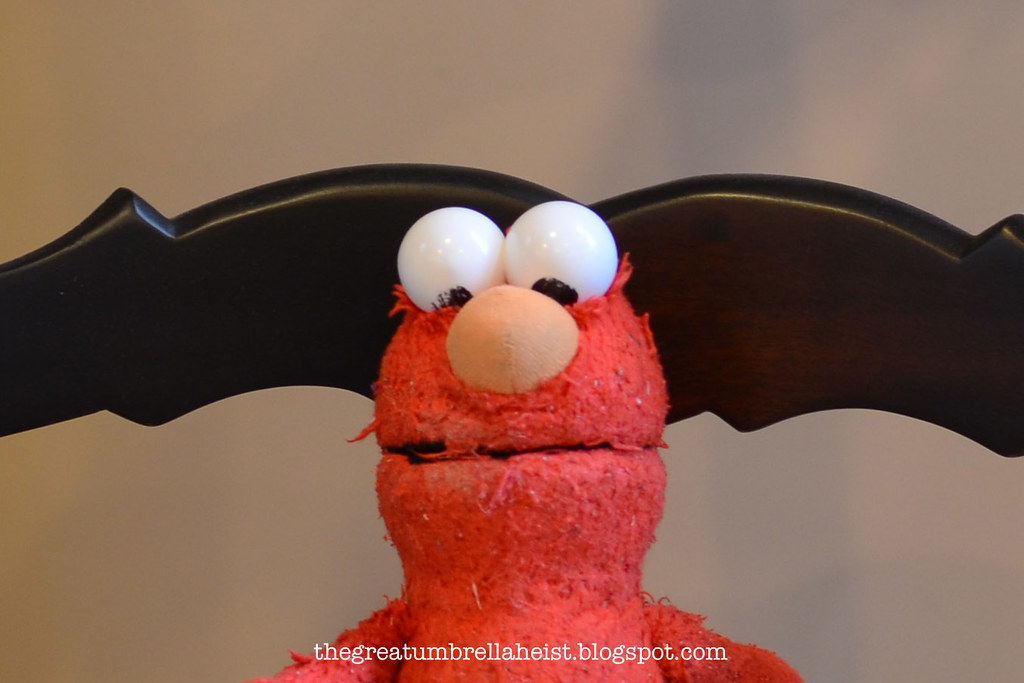
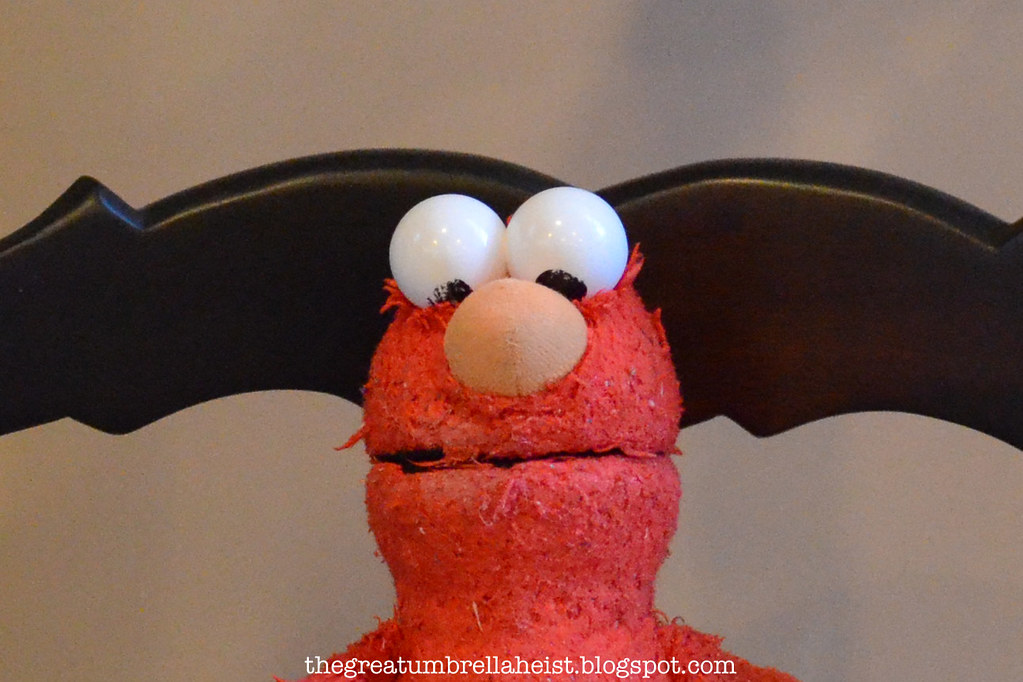
Although I am showing you large web pictures, they are small in comparison to large prints so you may not be able to see the grain. So, in Photoshop Elements, I enlarged the pictures by 75% and then cropped. Do you see the grain now?
ISO 320
ISO 4000
Grain is more apparent or obvious on darker portions of a photo. With these two pictures, I would compare the wall behind Elmo.
(Please note that there are programs/software that will reduce graininess.)
Aperture
Aperture (or your f stop) refers to how wide the opening of your lens is. When I was first learning about aperture, I found it easiest to remember what it does by thinking of it as the opposite function.
The smaller the f stop = the wider the opening of your lens and the more light you are capturing.
The smaller the f stop = your photo will have "more" bokeh.
I'm sure someone is asking, "What is bokeh?" Bokeh is the "blurred" portion of the photo, usually in the background. (Don't worry. Examples are coming up.)
Shooting with a small f stop is often referred to as "shooting wide" or "shooting wide open" because with the smaller f stop, the lens opening is wider than it would be with a larger f stop.
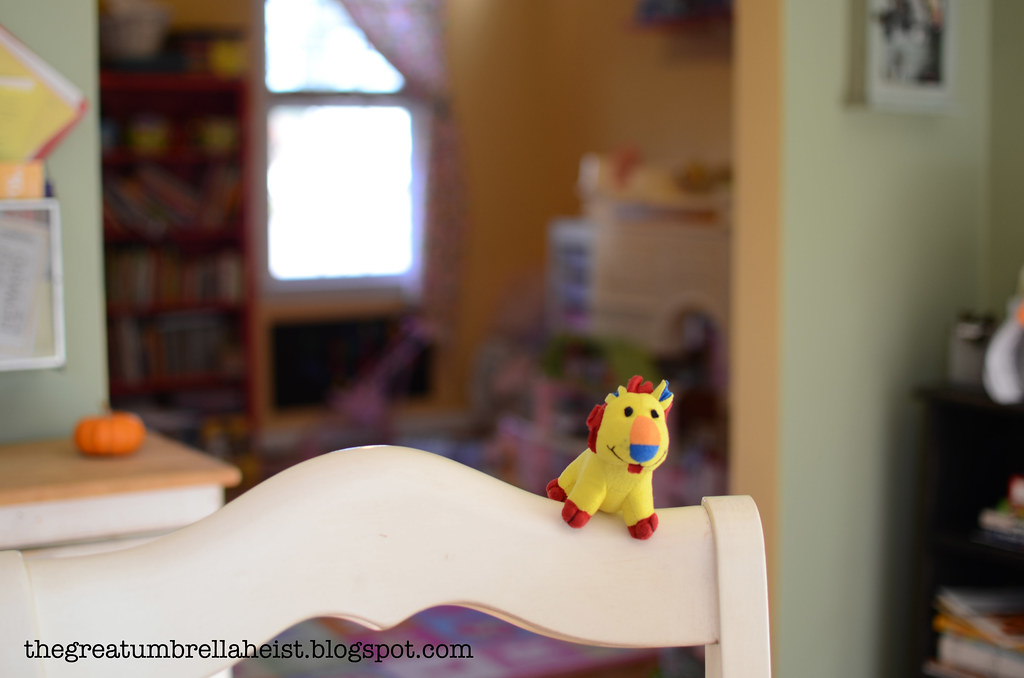
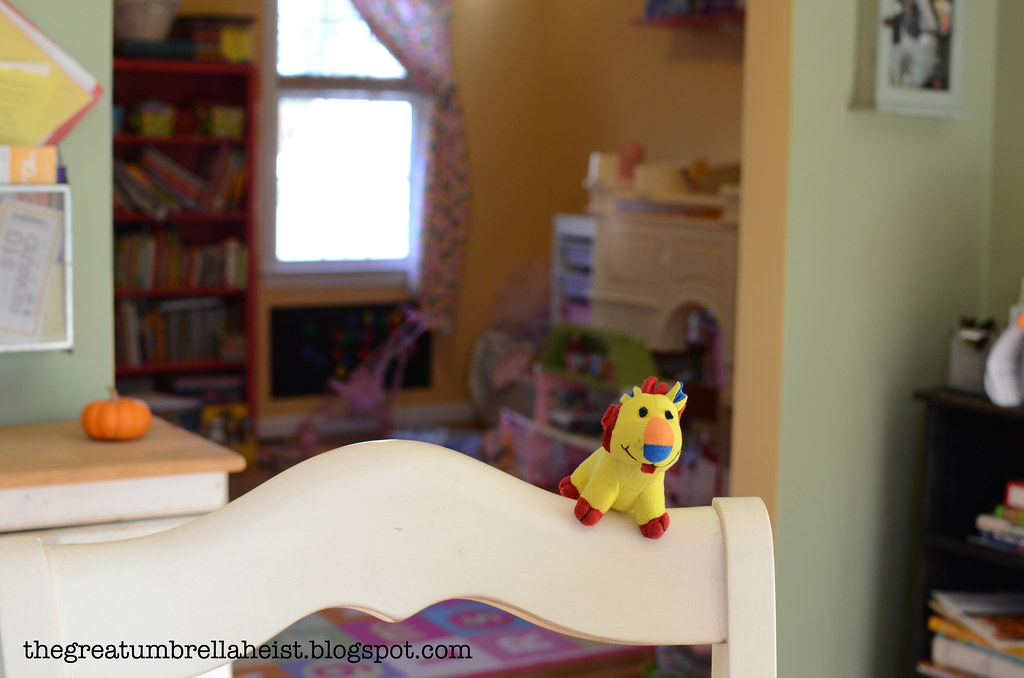
Here are a series of photos (all straight out of the camera) where I increased my f stop. You can see how the background slowly lost bokeh and became more in focus as I increased the f stop. In order to not overload you will too much information, you will have to wait for the next lesson to find out how the ISO and shutter speed changed with the change to the f stop.
f/2.2
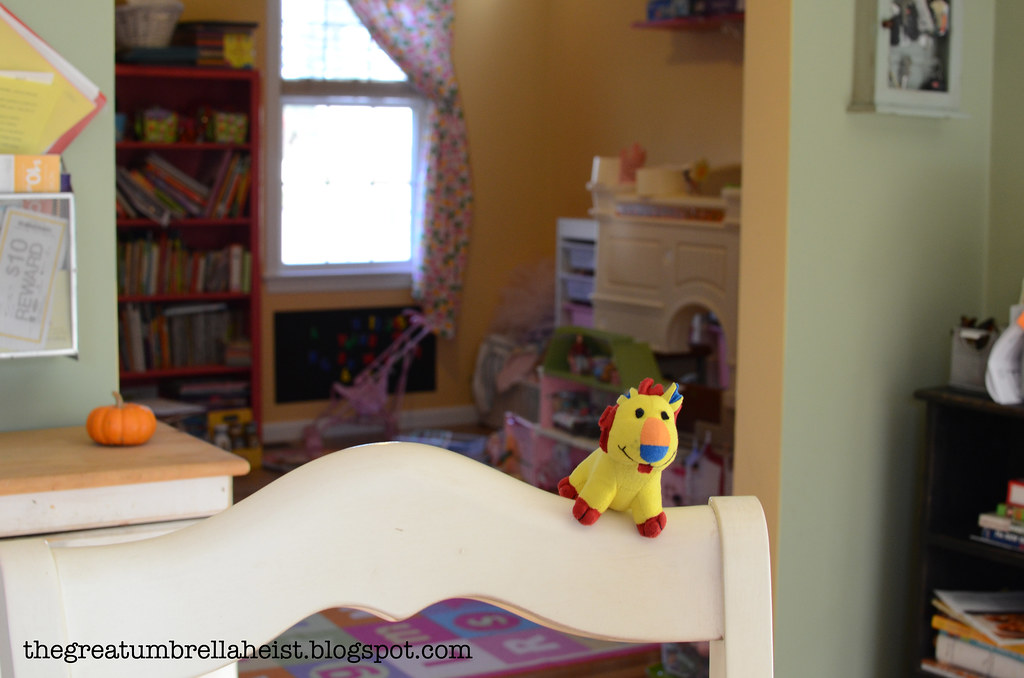
f/4.5
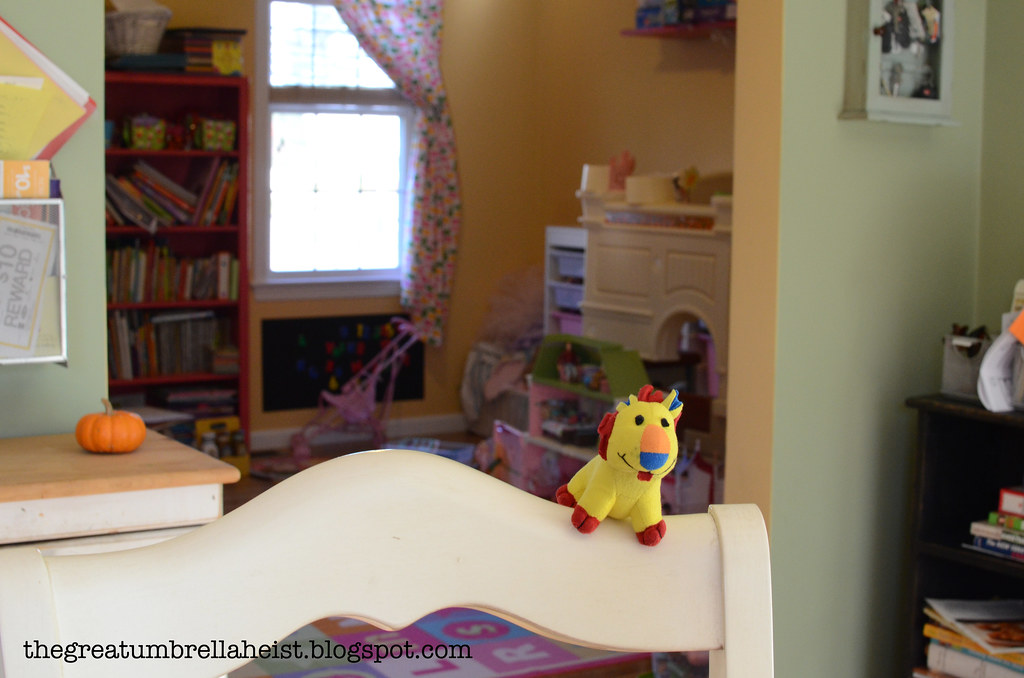
f/6.3
f/8.0
Shutter Speed
The easiest function. Sometimes. The shutter speeds determines how long it takes your camera to shoot a photo. A slow shutter speed means that the shutter will be open longer, allowing more light to enter the camera. A fast shutter speed means that the shutter opens and closes quickly, capturing less light but freezing movement.
Shutter speed is referred to as a portion of a second. So if my camera is showing 100 as the shutter speed, it means that my shutter is set to stay open for 1/100 of a second. If you are photographing children, the key to shutter speed is determing what it needs to be in order to avoid blurry photos. This is what can make it a difficult function.
(If you are using an external flash, there are techniques where you use a slow shutter speed to allow light to develop in the background. We will discuss later as I don't want information overload to occur.)
I don't have any examples of shutter speed because, well, I think it is kind of obvious.
Homework
You will need your camera and the manual that came along with it.
- Turn the dial to M for manual.
- What is your ISO set at? Can't find it? Look in your manual. Then figure out how to change it.
- What is your aperture set at? Look in your manual if you don't know. Then figure out how to change it.
- What is your shutter speed set to? Again, refer to your manual if you can't figure it out and then learn how to change it.
In the next lesson, I will discuss how ISO, aperture and shutter speed are connected and how I determine what settings to use when shooting in manual.
7 comments:
Wow...this is awesome information. I love the examples, too.
I have a Nikon D60, which I love, but I really know so little about it. I bought a book specific to the camera, but I'm ashamed to say in having it about a year, I have hardly cracked the cover.
Thanks so much...I'll definitely play around a bit this weekend.
Thank you so much ! I'll try it this week end !
I am so excited for these lessons!! We bought a canon eos before our 3 month old baby boy was born and still don't know how to use it! Thanks for the tips. :)
So glad you are doing this! It's incredibly helpful. I bought a Canon EOS when my twins were 6 months and I'm still trying to find the time to open the manual. This is great!
thank you!!!! When you do your future lessons, can you explain how to prevent pictures from being blurry when there is low light and you leave the shutter speed for longer without using a tripod?
I'm glad someone is finding this useful.
Andrea - I will discuss!
Wow come across your blog today and found this post this is exactly what I need, I have a Nikon D3100 but I am still learning the manual setting to get the most of my pictures.
Post a Comment