
I promise these bags are easy to make and come together quickly.
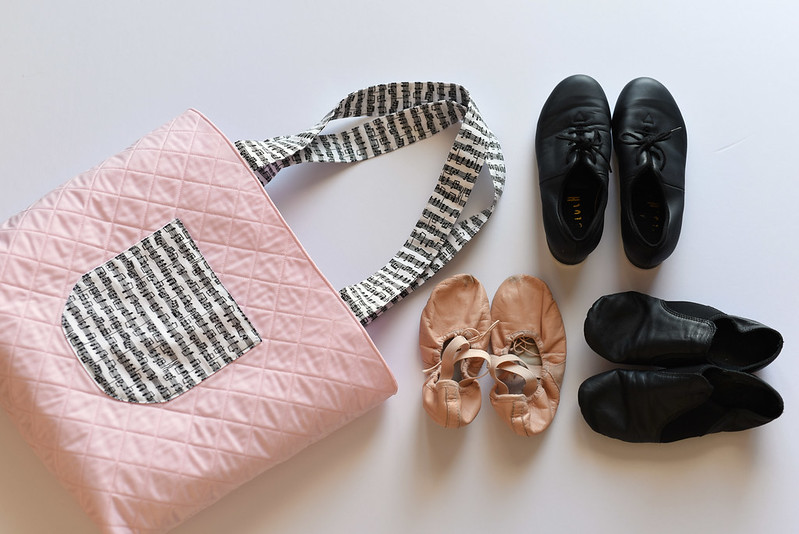
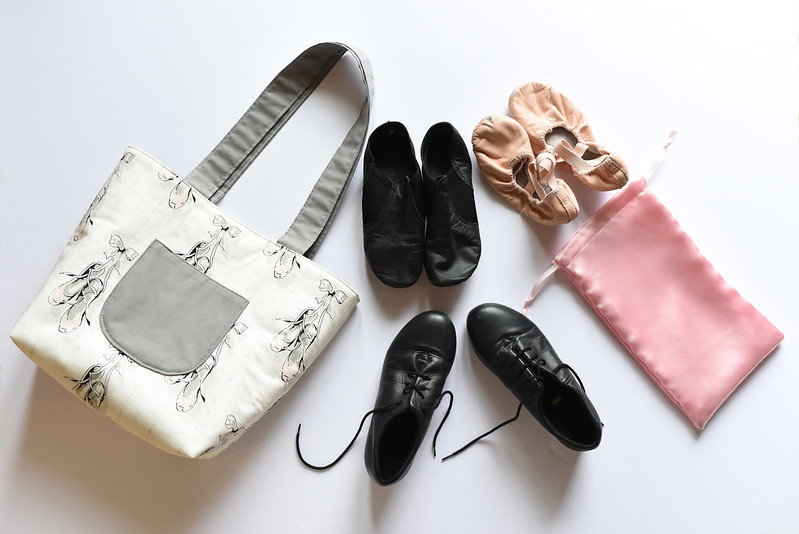
This is my pattern, which can be adjusted to create whatever size bag you desire. The pattern pieces I'm going to provide today are for a bag that is 10.5 inches tall, 10.5 inches across the front and 5 inches wide. (That's the dance bag in the next photo, not the smaller pink ballet shoe bag.)
Supply List
* 1/2 yard of fabric for the outside of bag
* 3/4 yard of fabric for inside of the bag, the pocket and the straps
* 1/2 yard fusible fleece (more info is provided in the next section)
* Coordinating/matching thread
* I'm assuming you have basic sewing supplies, a sewing machine and an iron.
I used woven cotton (quilting cotton) for fabric. Even though these bags can be made using a stretchy fabric, such as knit or cotton lycra, you would need to prepare the fabric in a manner I don't cover here in this post.
Cut Your Pattern Pieces
You're going to end up with 8 separate pieces of fabric and 2 pieces of fusible fleece. I actually didn't use fusible fleece. Mine had to be attached to the fabric with spray adhesive, but it's basically the same thing as fusible fleece. Fusible fleece can be found with the interfacing in any fabric store or ordered online. Joann is the closest fabric store for me and the interfacing is set up near the fabric cutting table. It's referred to as 'fusible' because you attach it to your fabric by ironing it on. If you don't use fusible fleece or any type of interfacing with this project, your bag will not have any structure to it and will flop around.
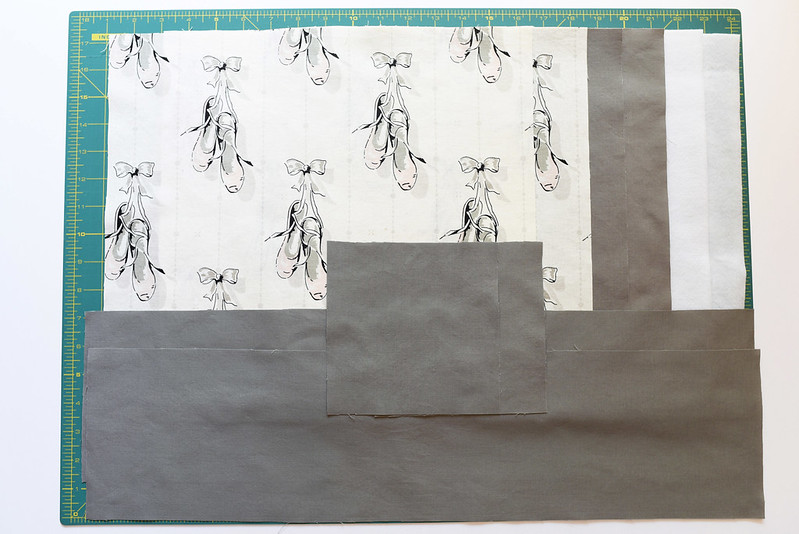
Here's what you need to cut:
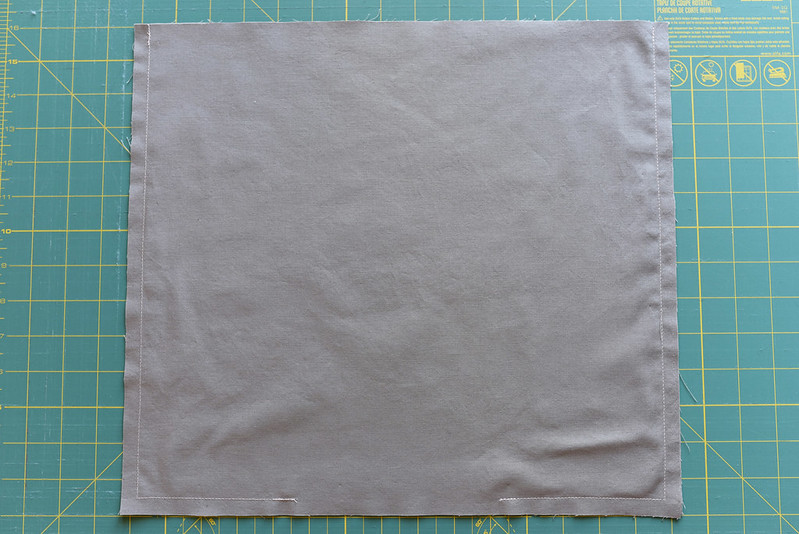
2 pieces of fabric for the outside of the bag - 15.5 inches wide x 14 inches tall
2 pieces of fabric for the inside of the bag - 15.5 inches wide x 14 inches tall
2 pieces of fabric for the pocket - 6 inches x 6 inches
2 pieces of fabric for the straps - 6 inches wide x 24 inches long
2 pieces of fusible fleece - 15.5 inches wide x 14 inches tall
It is extremely important that all pieces are cut to the exact measurements. When I say 15.5 inches wide, all pieces need to be exactly 15.5 inches wide. If you're off by a quarter of an inch, your bag will not come together easily and may look sloppy.
Create the Pocket
Stack the 2 pieces of fabric together and then fold them in half. Pin together.
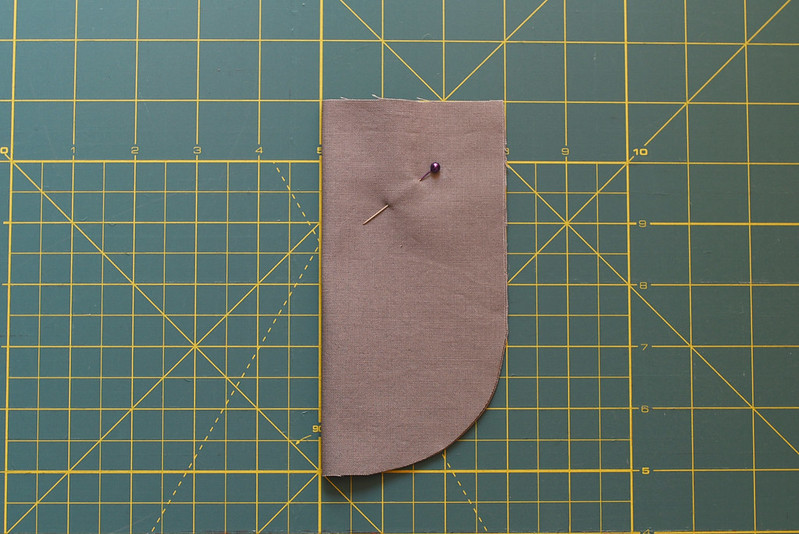
Cut a curve so you won't end up with a boxy pocket.
Unfold and place the right sides of the fabric together. Sew around the sides and bottom, leaving the top open. My seam allowance is about a quarter of an inch.
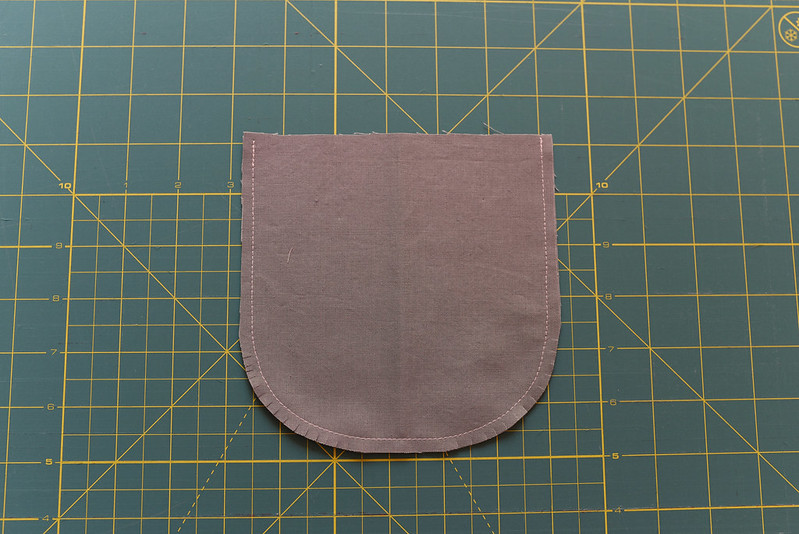
You're going to want to cut notches or snip at the fabric where the pocket curves before you turn it right side out.
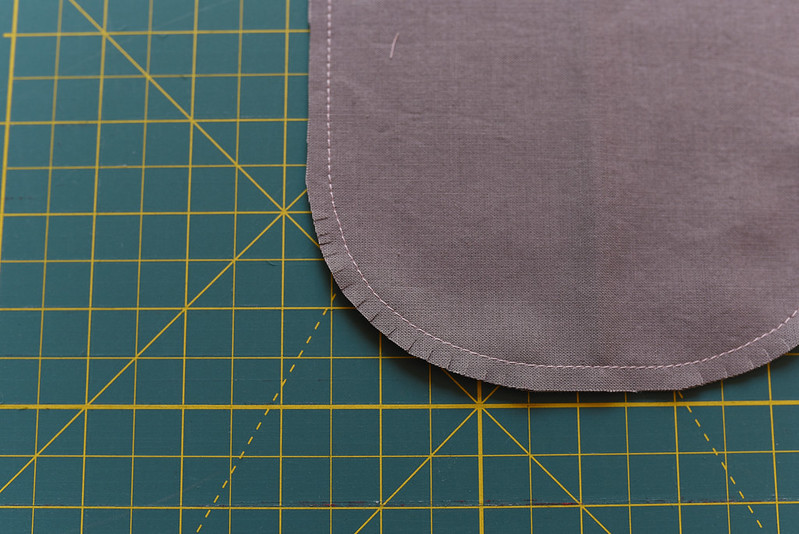
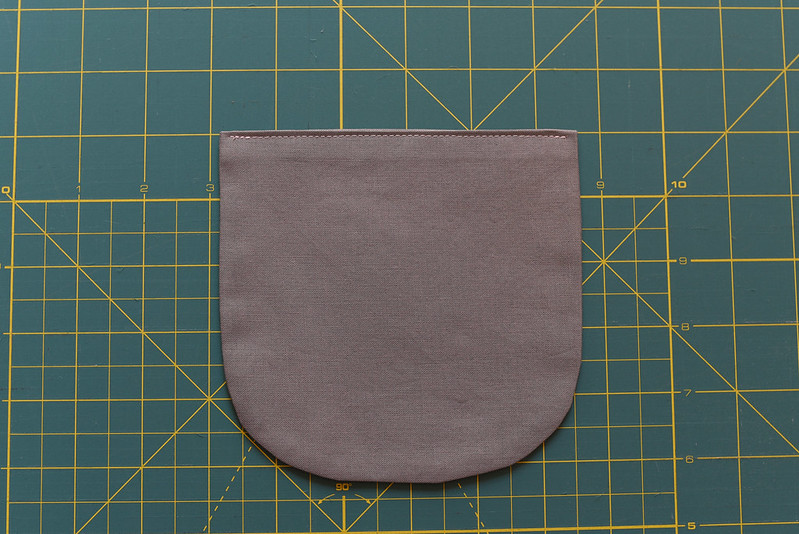
Turn the pocket right side out and fold the raw edges on the top inside. Iron and then stitch across. Here's what your pocket should look like now:
Sew the Straps
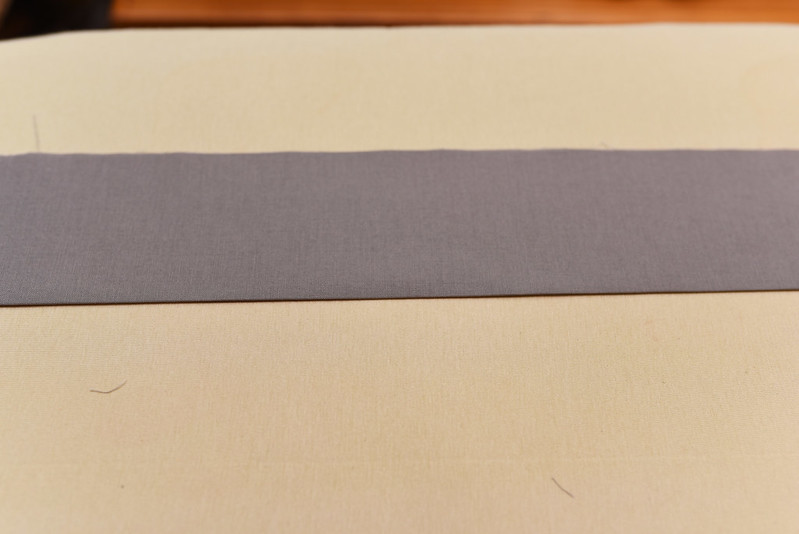
You've cut your straps at 6 inches wide. When we are done sewing, the finished straps will be 1.5 inches wide. Before I go on, I do want to explain how there are different ways to sew and assemble patterns. This is the way I decided to do these straps. They are soft without being too soft. If you want more structure, please feel free to add interfacing to the fabric.
Fold your straps in half down the entire 24 inches and iron a crease right in the middle.
Now you're going to want to open the strap and fold in both raw sides to the middle crease. Iron it closed. I find it easiest to do one side first and then line up the other side as I iron it closed.
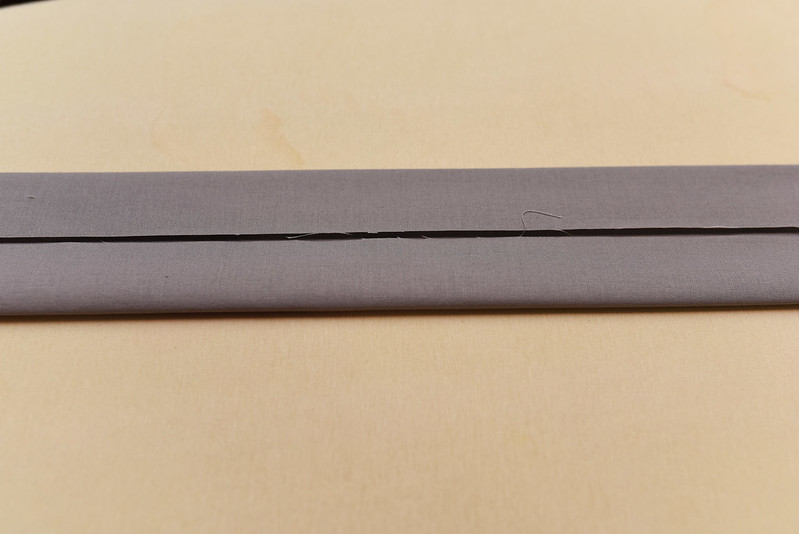
Stitch down both sides.
Here's what your completed straps will look like:

Sew the Outside of the Tote Bag
Your first step is to attach the fusible fleece to both pieces of the outside of the bag. Be sure to attach it to the wrong side of the fabric.
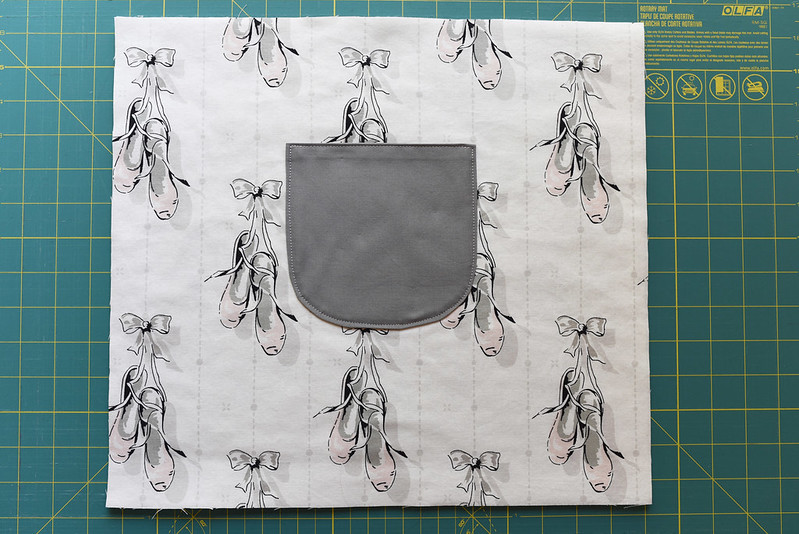
Now sew the pocket onto an outside piece. Keep in mind that you are going to lose some of that fabric when it becomes the bottom of the bag so don't center the pocket in the exact middle of that fabric piece.
Place both outside pieces together with right sides together and stitch it closed along the sides and bottom. I use a .5 inch seam allowance here.
Now you need to make the box corners on the bottom of the bag. These corners allow the bag to stand upright. There are two methods to doing this: the box cut or the smoosh down method. I prefer the smoosh down method so that's what I'll be showing you today.
Keep what you have thus far for the bag inside out and place it upright on a flat surface (table or ironing board.) Take one side and smoosh it down so that the side seam is even with the bottom seam. It should look like this:
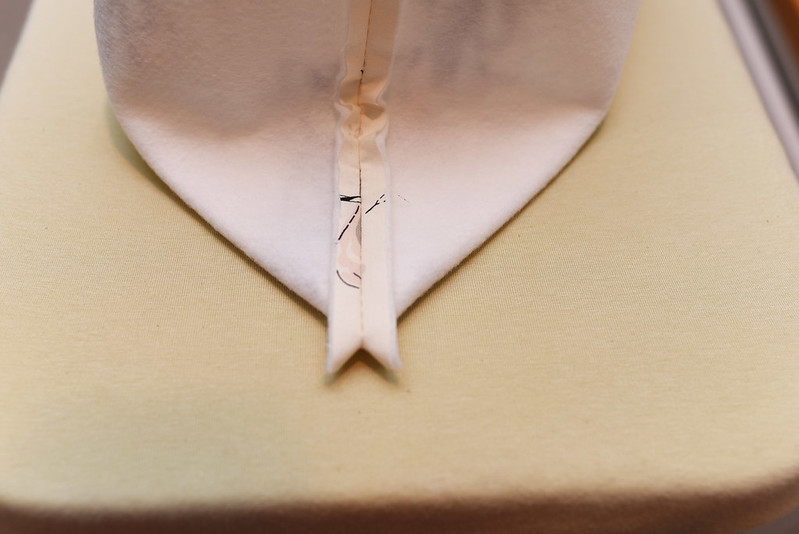
I do take a warm iron and press those seams down to make it easier to work with. You're going to measure up (I use an acrylic sewing/quilting ruler) until you get a line 5 inches across and mark it. I also pin it in place so when I move it to the sewing machine, nothing shifts.
Do the same on the other side and then sew across those lines. Cut the extra fabric off.
Now you need to add the straps to both sides of the bag. Make sure you measure so the straps are centered and even on both sides of the bag.

Sew the Inside of the Tote Bag
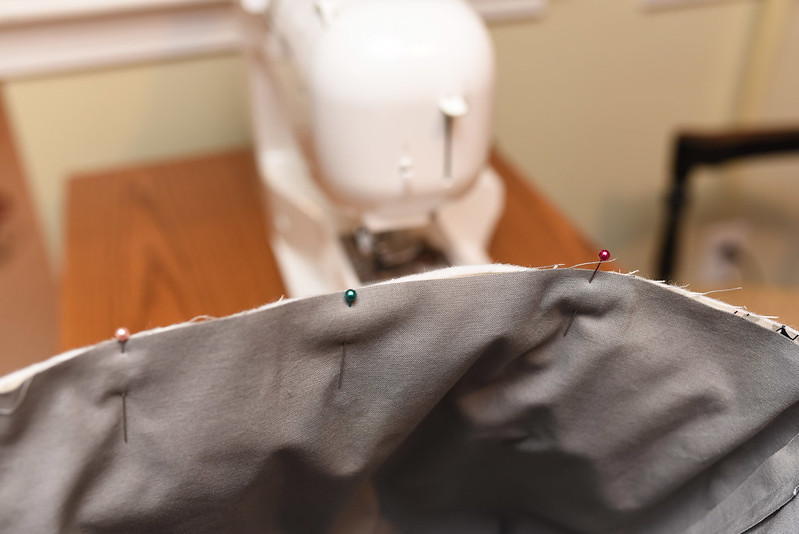
Place the two pieces of fabric for the inside of the tote right sides together and sew together at the sides and bottom, leaving a gap across the bottom, just like I've shown below. Keep in mind you'll need to pull the bag through this gap so make sure it's a good size.
You'll need to add box corners to the inside of the bag, just like you did with the outside. Be sure to use the same measurements.
Assemble the Tote Bag
Keeping both the inside of the bag and the outside the bag inside out, place the inside of the bag into the outside. Ha! If that doesn't confuse you, I don't know what will. These photos should help.
Just remember you always want to keep the right sides of fabric facing each other.
Pin the inside and outside together around the top This is when you'll find out if you cut your fabric pieces all the same size and kept your seam allowances even. If you did, you'll find a perfect fit. Tip - I iron the seam allowances at the top so they are flat. It helps make the finished project look nicer.
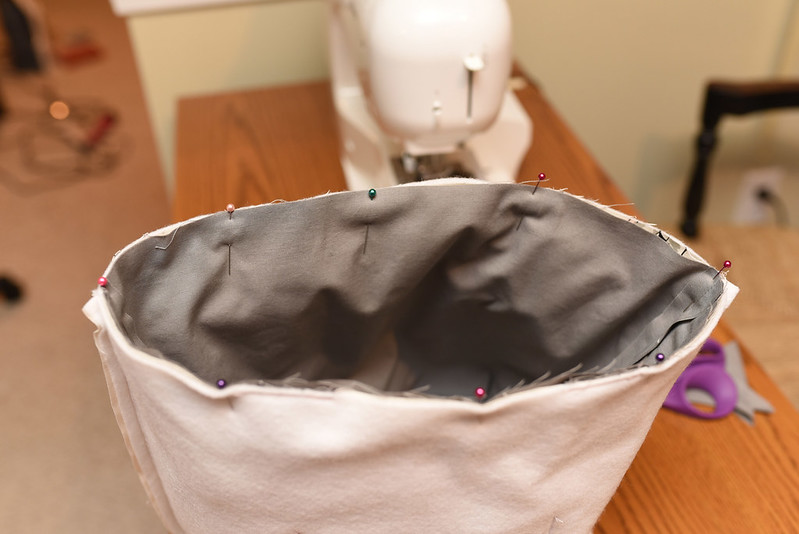
Sew all the way around.
Now you need to pull the bag through the gap in the bottom of the inside of the bag. Yes, it's like assisting in the birth of a bag.
Only two more steps left!
You need to sew that gap in the bottom of the bag closed. Pull the fabric out, iron it closed and then stitch across, staying as close to the edge of the fabric as possible. (I apologize as it appears I didn't take a photo of this step.)
I like to top stitch along the top of the bag. It gives it a finished, professional look.
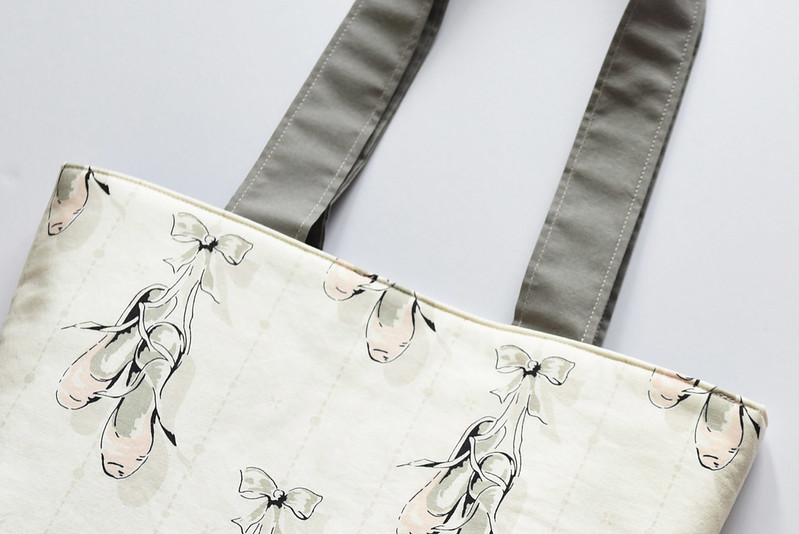
So that's my tote bag sewing tutorial. The more you make, the easier they get. I love using them for unique, personalized gift bags.
If you're interested in sewing a girl's twirl skirt, you can find my tutorial on how to create your own pattern (size) here and my tutorial on how to assemble the skirt here.
Happy sewing!
No comments:
Post a Comment