
For some reason, I'm super picky when it comes to store-bought curtains. Sometimes it's the fabric (too shiny or cheap looking.) Sometimes it's the style (the '80s came and went a long time ago.) Regardless, basic curtain panels are super easy to sew (only a few easy steps) so I prefer to whip some up when the need arises.
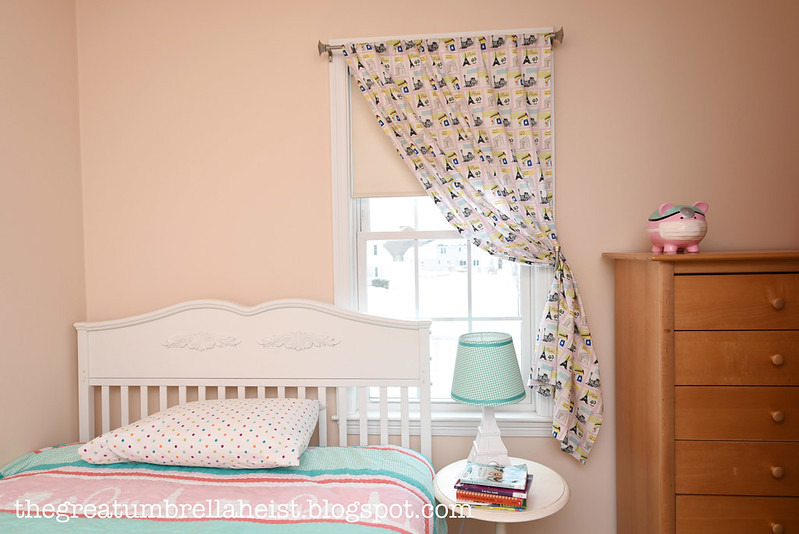
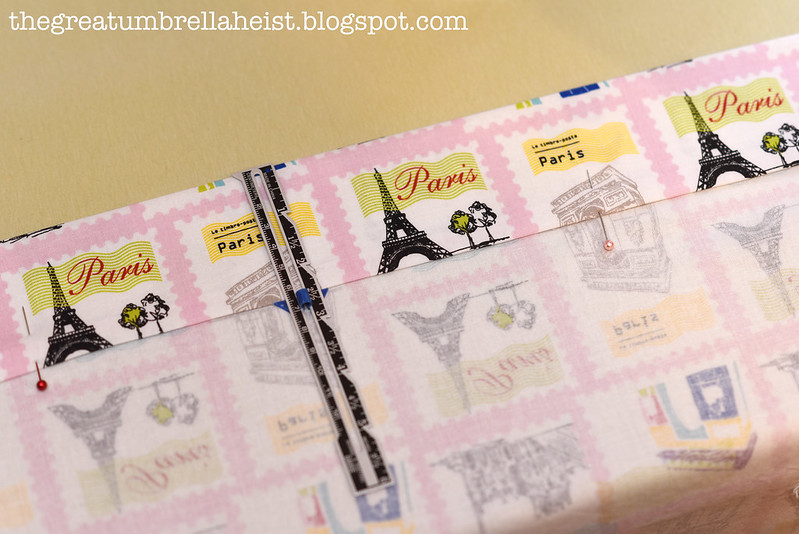
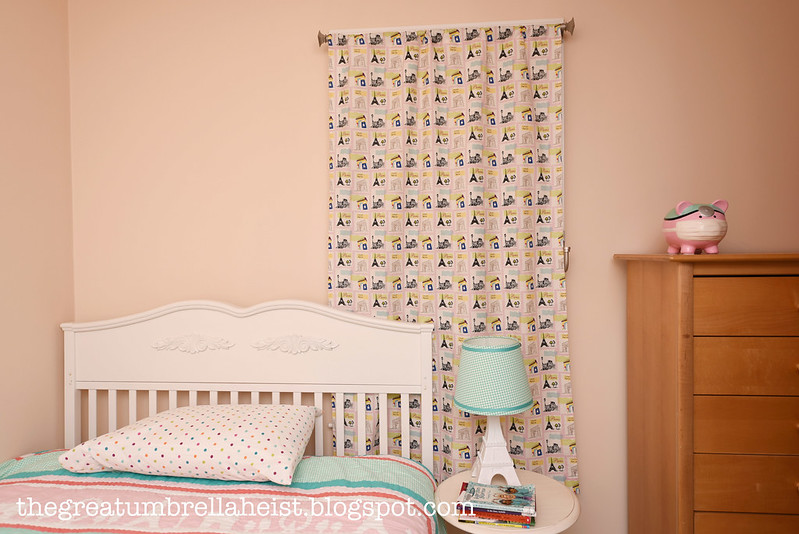
Emily has a blackout shade in her bedroom and so the curtain is for decorative purposes only. We had a temporary one (too shiny and too high maintenance) hanging up and now that I know the theme (mainly Parisian) of her room, it's time to update the curtain. Emily picked out this fabric:

Her room is a bit crowded, especially near the window so I didn't want heavy curtains or a lot of fabric. I decided to go with only one panel but if there was more space in the room, two panels would have been preferred.
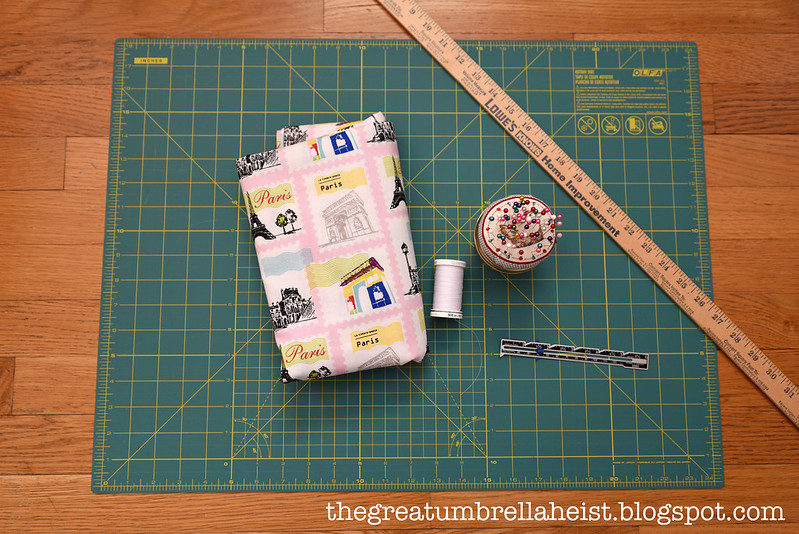
Supplies
- Fabric
- Matching thread
- Seam gauge (not a deal breaker but will make your life easier)
- Basic sewing supplies (sewing machine, scissors, pins, something to measure with, iron, etc.)
Getting Ready
- Wash and dry your fabric to pre-shrink it. Trust me on this. The last think you want is to wash and dry your curtains during spring cleaning and have them shrink on you.
- Determine the measurements for the curtains. The length should start where the curtain rod is (or where it will be) and end wherever you want it to. For this curtain, I wanted it to end a bit after the window to keep the bulk of fabric at a minimum. The width of the curtains can be whatever you wish it to be. The fabric that Emily chose for this curtain was about 44 inches wide, which was just wide enough to cover the window. If her room had been more open, I would have gone with two panels at that width.
- Cut your fabric. The side seams will not eat up too much fabric so there is no need to add extra fabric but you will need to add extra to your length measurement. For Emily's curtain, I wanted the finished curtain to measure 2 yards long. I needed to add 3.5 inches for the top and 3 inches for the bottom. So take what you want for the length of your finished curtain and add 6.5 inches. This is what you'll be cutting.
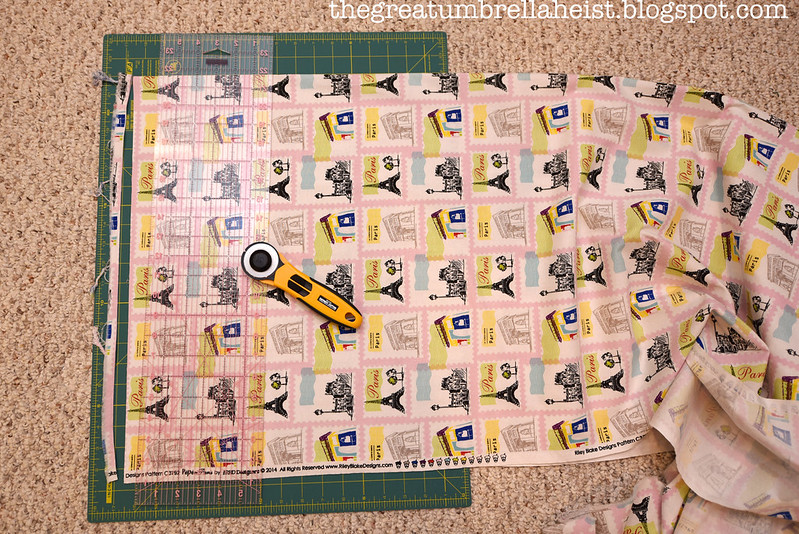
Also cut the selvage (edge of the fabric) off. In this case, I don't want the black writing to show through.

1. Side Seams
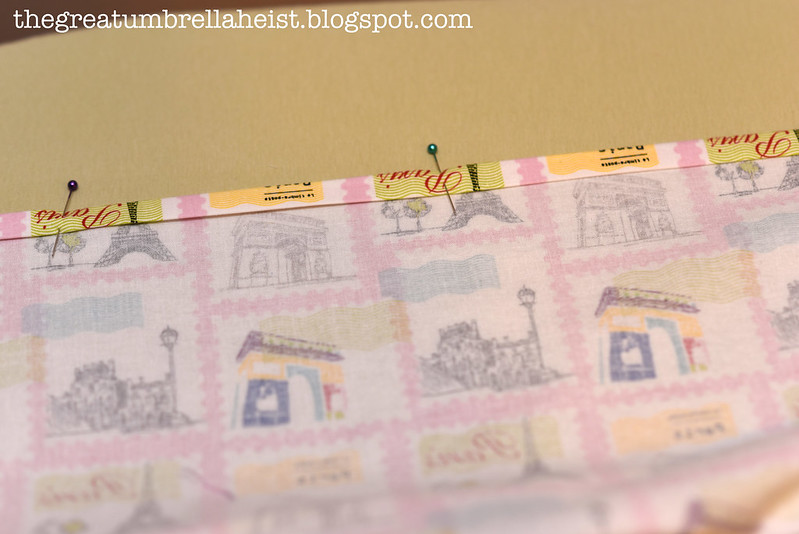
The first step in sewing your curtain panel is stitching up the side seams. You want to fold over the edges twice to hide the raw edge, pin and then sew.

There are two things you can do to make your sewing look professional: sew straight lines and iron every step. I iron down all of my seams before pinning. It not only makes the product look nicer but it makes it easier to sew.
2. Top Encasement
We want to sew a tunnel at the top of the curtain for the curtain rod to fit through. To start, fold 1/2 inch down and press with a warm iron.
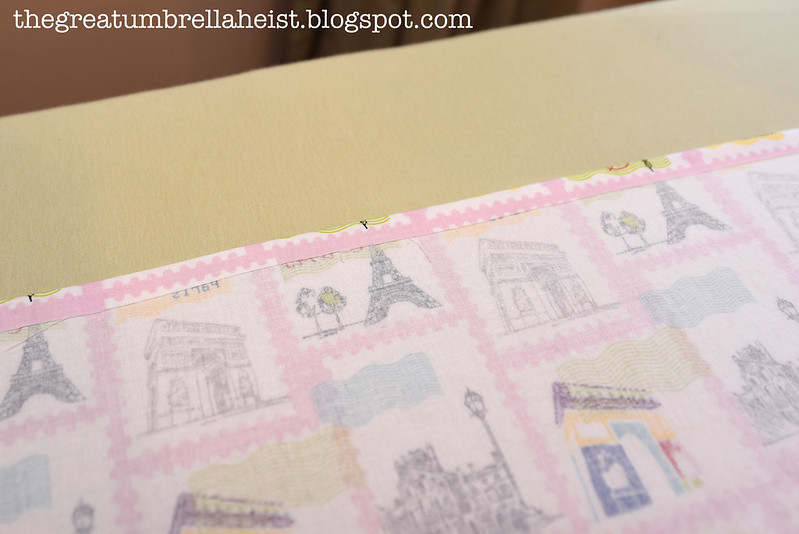
Then fold down another 1/2 inch and press with the iron. Pin periodically to keep in place.
Then fold down another 1/2 inch and press with the iron. Pin periodically to keep in place.
Now fold the top down and with your seam gauge, measure off 2.5 inches. Press the top with the iron and pin and place. The reason why we folded the top twice was to hide that raw edge so it won't be visible in the casing.

A closer view.
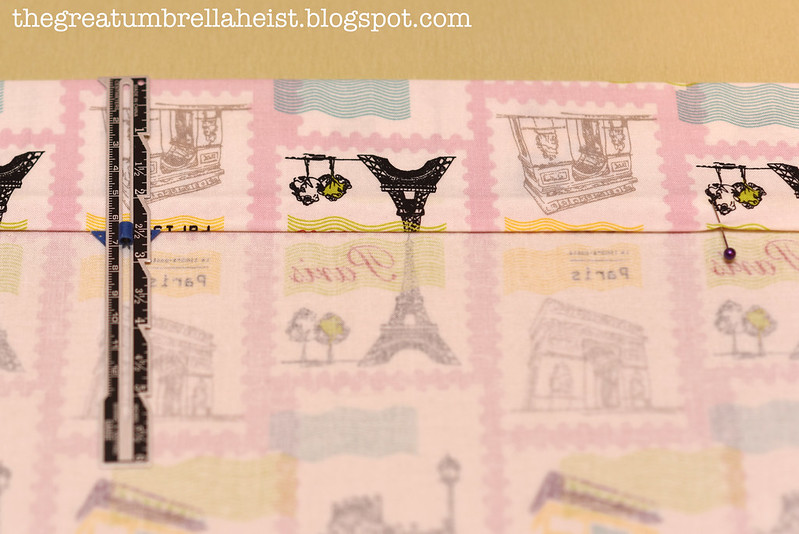
A closer view.
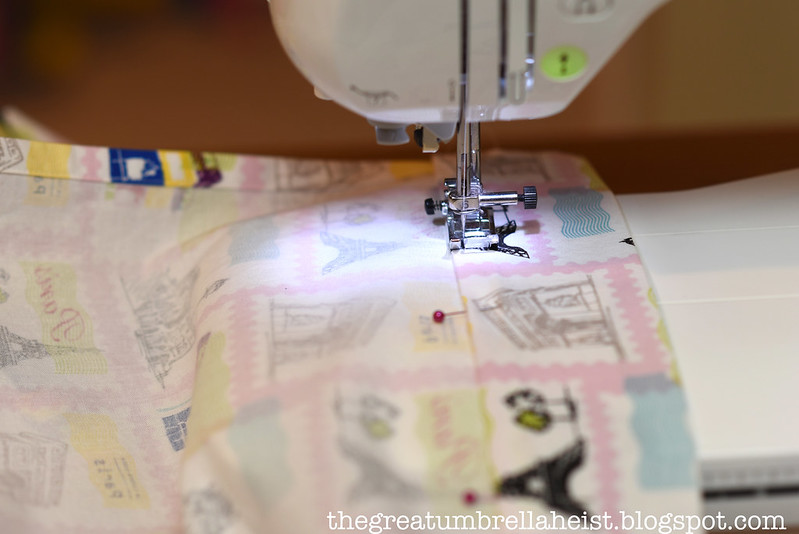
Now sew across.
3. Bottom Hem
To start the bottom hem, you want to fold up 1/2 inch of the bottom and press with the iron.
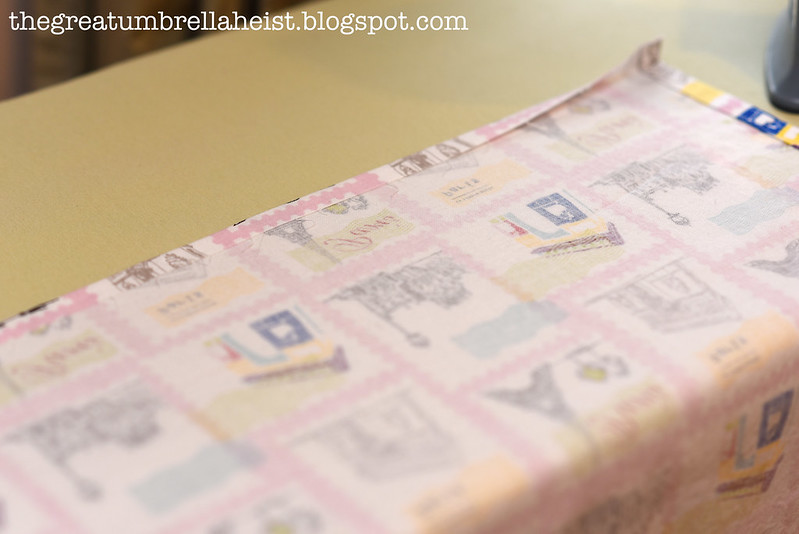
Because we don't have a casing at the bottom and the raw seam will be hidden, you just need to fold up the bottom to form the hem. I went with 2.5 inches.
Because we don't have a casing at the bottom and the raw seam will be hidden, you just need to fold up the bottom to form the hem. I went with 2.5 inches.
Sew across.

Now there's one last quick step to finish off the bottom hem. You want to close off the sides so you no longer have an opening there, like you do (and want to) at the top. Sew as close to the sides as possible.

That arrow is pointing to what you should have sewn. See that second seam.

4. Enjoy
Now there's one last quick step to finish off the bottom hem. You want to close off the sides so you no longer have an opening there, like you do (and want to) at the top. Sew as close to the sides as possible.
That arrow is pointing to what you should have sewn. See that second seam.
4. Enjoy
7 comments:
How did Emily come to chose a Parisian theme?
Gorgeous room!
Thanks, Jen.
I don't know exactly why she became interested in Paris. They've been exploring and asking a lot of questions about other countries and she liked France. Target happened to have some Paris bedding and her Eiffel Tower lamp.
How do you cut large pieces of fabric so they're straight? I've tried laying them on the floor and even taping them down so they don't move and yet I can't cut a straight line to save my life. Do you have any tips?
Lisa - I sometimes feel like it takes me just as long to cut the fabric as it does to sew the project. I'll fold the fabric so that it fits on my board and spend time lining up sides. If the fabric has a pattern, make sure the pattern lines are straight and match up.
I love seeing your sewing projects. We are adopting a little girl, and I would love to be able to sew some dresses for her. I'd also like to sew some throw pillows and curtains for our home, because I haven't been able to find exactly what I want in stores.
I struggle with my fine motor skills because of dyspraxia, so I'm not sure if sewing is a realistic goal for me. I have been hesitant to spend the money on a sewing machine since it's possible that my fine motor skills just won't be sharp enough to achieve the kinds of results I'm expecting, but seeing the adorable dresses and home decor you have made for your girls really inspires me.
Thanks for the comment, Sally. I hope you are able to try out some smaller projects.
Post a Comment