
For easy reference, my instructions on how to cut your pattern pieces can be found HERE.
Supply List
- Fabric*
- Rick rack
- Matching thread
- 1 inch non-roll elastic (enough for a waistband, not one inch of)
- Sliding gauge/ruler (not necessary, but will save you some time)
- Bodkin (unless you have another way to thread the elastic through the casing)
- Obvious items like a sewing machine, pins, scissors, measuring tape and an iron
* The skirt I made would probably be considered a size 3-4. I needed a quarter of a yard for the waistband and a half a yard for the bottom part of the skirt.
Step 1 - Sew the bottom skirt
When sewing skirts, I always start with the bottom and work my way up. I think it's easier to do it this way, especially if you have more than 2 tiers.
I don't have a serger so I always sew a zigzag stitch on unfinished edges to prevent them from excessive fraying. It doesn't look very pretty but these are inside seams, so who really cares. I started by sewing a zigzag stitch down all 4 sides of the owl fabric. You could do it after you sew the 2 pieces of owl fabric together but I prefer to do it before on side seams as it tends to bulk them up.
You want to sew the two pieces of owl fabric together by placing the right sides facing each other and sewing the short sides of the pattern pieces. After sewing, I always iron the seams down for a more polished, professional look.
Step 2 - Attach the rick rack
So now I'm going to walk you through how I sew rick rack onto the bottom of skirts with a hidden seam. Well, I like to think of it as a hidden seam. You will be attaching the rick rack to the right side of the fabric. Your first step is to make a clean cut in the rick rack and then heat seal it. Always, always, always heat seal the ends of rick rack as it frays quite easily. I usually just wave it close to an open flame on a candle. Just be careful that you don't light it on fire. You'll be able to tell if it is sealed or not by pulling on the end. It shouldn't fray at all and it will feel a little hard on the very end.
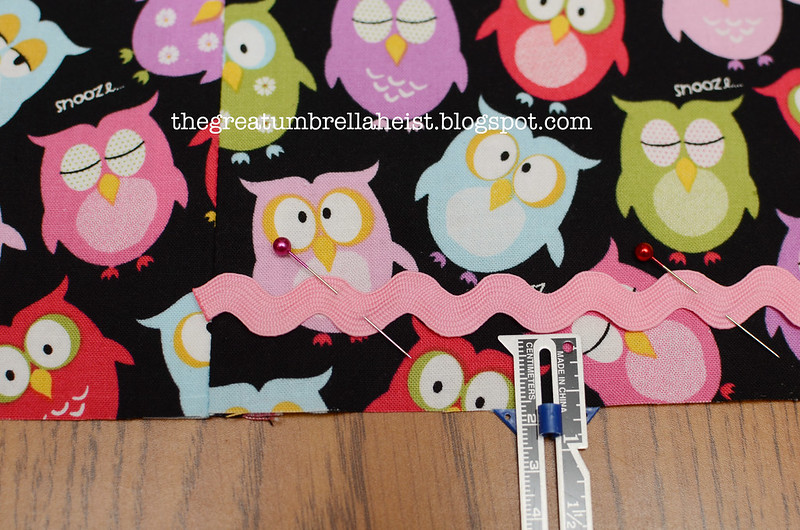
You'll want to start at one of the side seams and pin the rick rack near the bottom. Where exactly you place it depends upon how much fabric you need to finish off the bottom hem. This is where a sliding gauge ruler thingy comes in handy. I use one to ensure that I'm placing the rick rack at the same measurement all the way around. Don't fret if you don't have one. You can use a measuring tape or even a regular rule.
So this may just be personal preference but I never make my end cut on the rick rack until I sew almost all the way around. This does mean that you have to stop sewing and remove the skirt from the sewing machine to heat seal that end of the rick rack but I find that it gives me a better ending. I like for the 2 ends to slightly overlap.
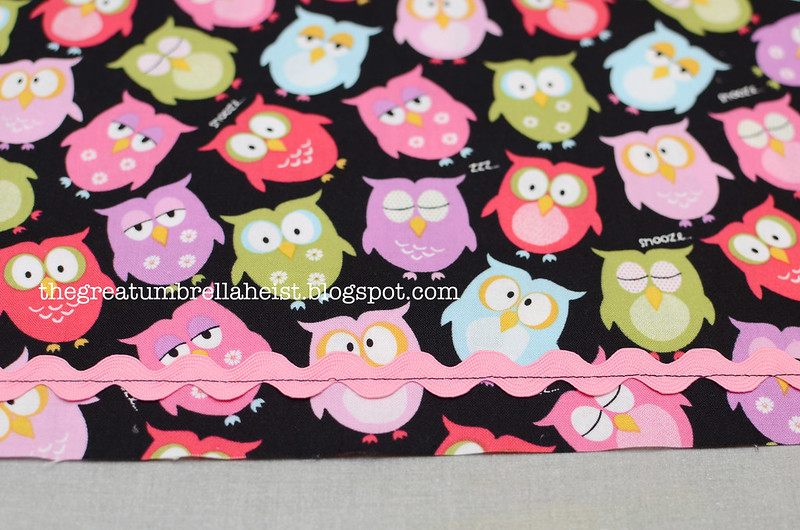
Because of how much rick rack I want to show at the bottom, I sew as close to the bottom of the rick rack as possible, instead of sewing down the middle. I usually use matching thread but for this tutorial, I used black so that you could see the seam.
Step 3 - Hem the bottom of the skirt
Once you finish sewing the rick rack on, you'll want to flip it under. I always press with a warm iron.

The inside will look like this.

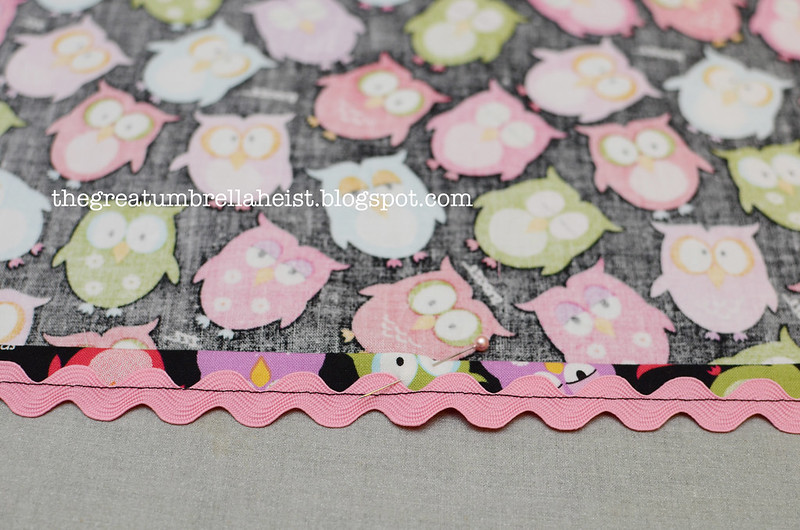
You'll want to tuck the raw end under, press it with a warm iron and pin it down. Sew your hem. (Don't attempt to sew over pins though.)
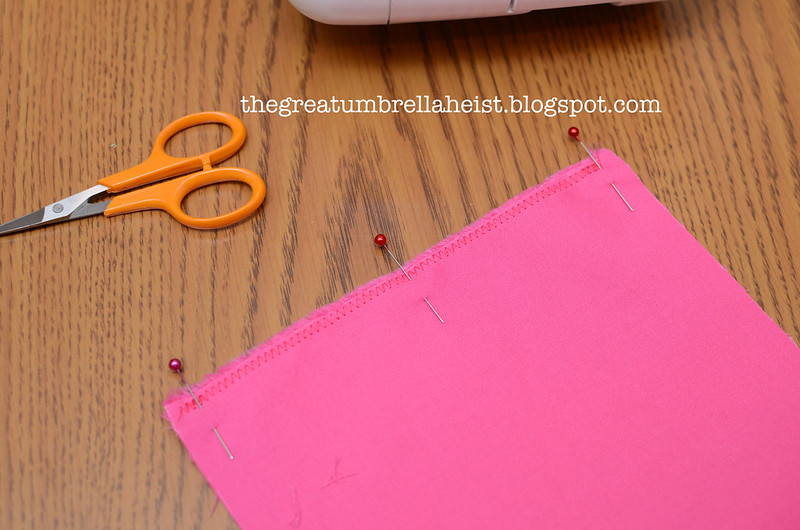
Step 4 - Sew the waistband
I started by sewing a zigzag stitch down both sides of the pink fabric. Then place the right sides facing each other and sew down the short side.
Step 5 - Make the casing for the elastic waist
Here's another step where your sliding gauge/ruler will come in handy. Fold down 2 1/4 inches and press with a warm iron.
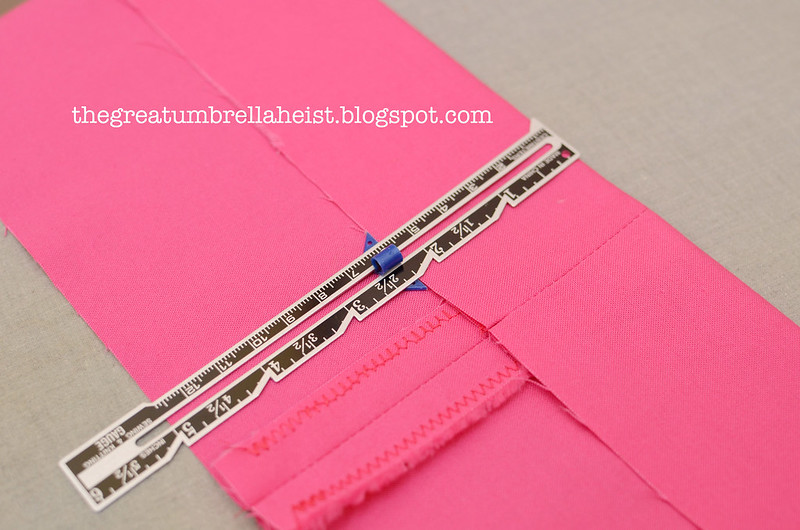
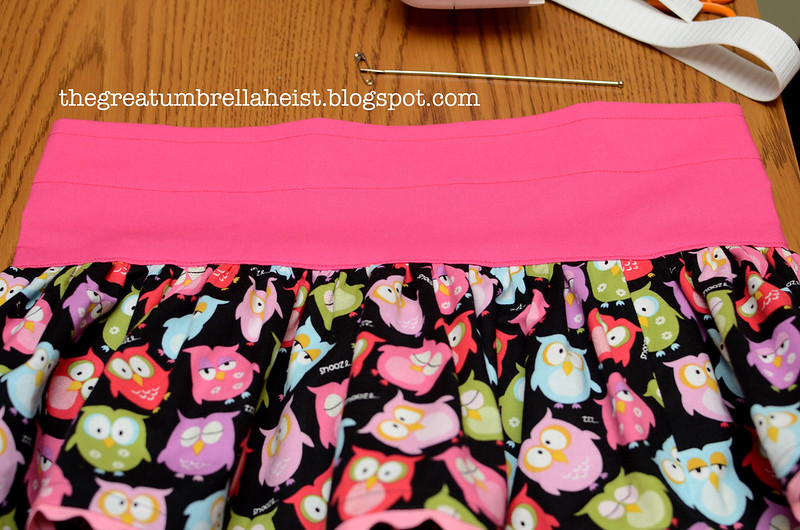
Then sew a seam all the way around the top about 1/2 of an inch in. I use the side of my presser foot as a guide. Here's what it will look like when you're done.
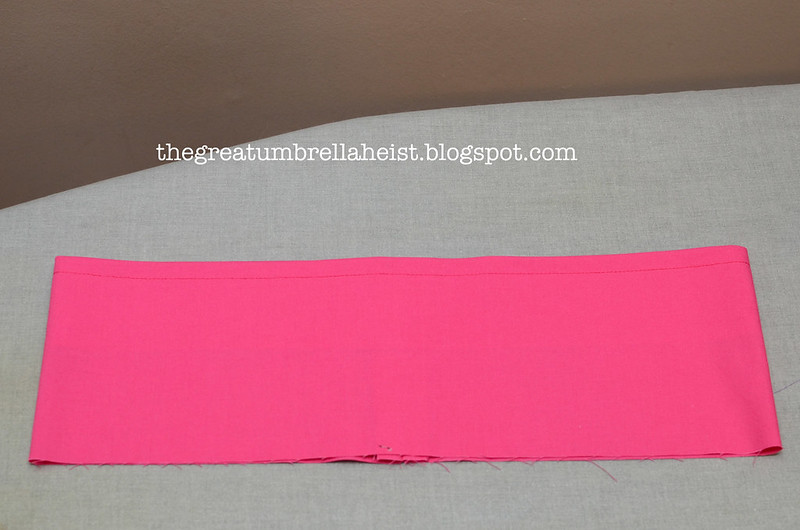
That little seam will give the waist band a ruffle at the top after the elastic is inserted.
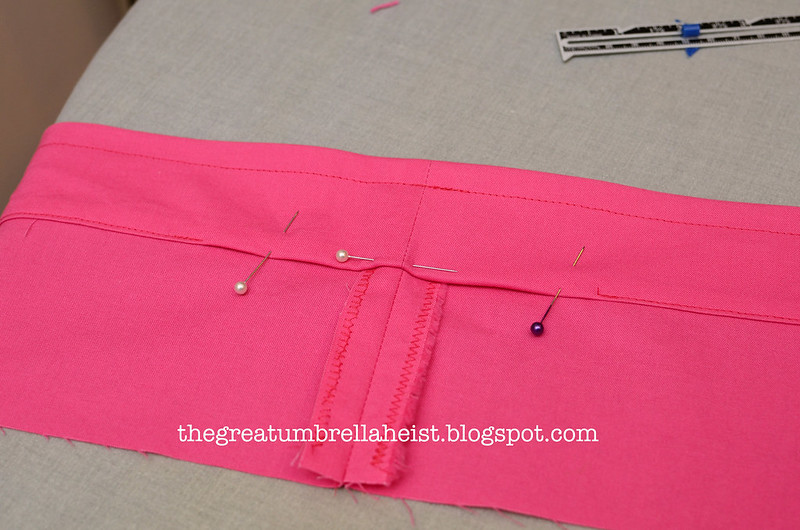
Now you need to finish the casing so that you can insert the elastic. You'll need to turn in the unfinished edge of the bottom of the casing. Using my sliding gauge/ruler, I measure down 1 7/8 of an inch from the top of the waistband. I press down the edge with a warm iron and then pin the hem down.
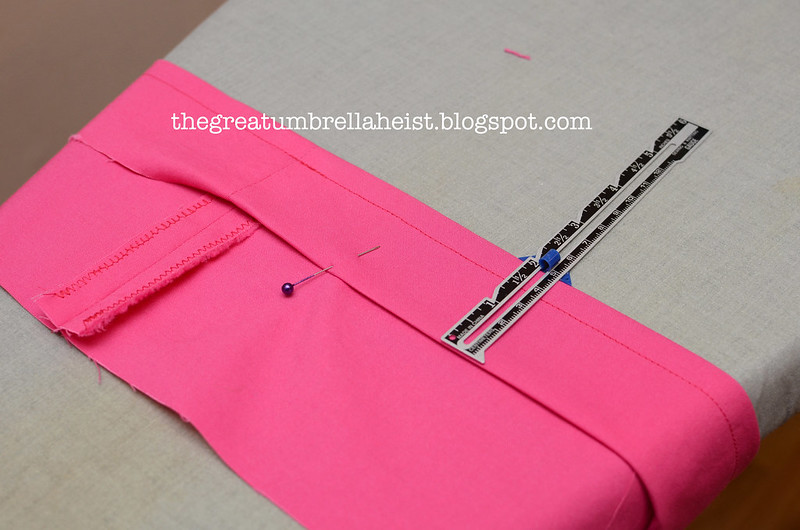
Here you don't want to sew all the way around or you won't have a place to insert the elastic. I leave a few inches open on each side of that back seam.
Step 6 - Attach the skirt to the waistband
You need to gather the top of the skirt so that you can attach it to the waistband. Set your machine to sew the longest stitch possible and then stitch two rows close but not right next to each other. You also do not want to backstitch when you are sewing because you will need to pull the bobbin threads when gathering. I always sew separate gathering rows for the front panel and back panel of the skirt. I think it makes pulling the threads easier because they aren't as long.

Before I start gathering, I use pins to mark the front center and back center of the skirt. This way, I can make sure that I don't have too much gathered in one spot when I attach it to the waistband. Likewise, you'll want to note the front center (which will be the exact opposite of the seam in the back), and the two sides of the waistband.
Gather and attach to the waistband with the right sides of fabric facing each other.
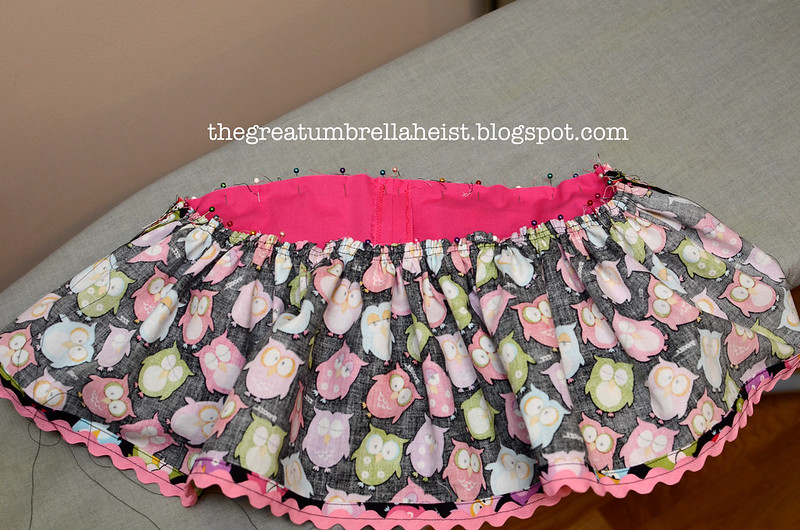
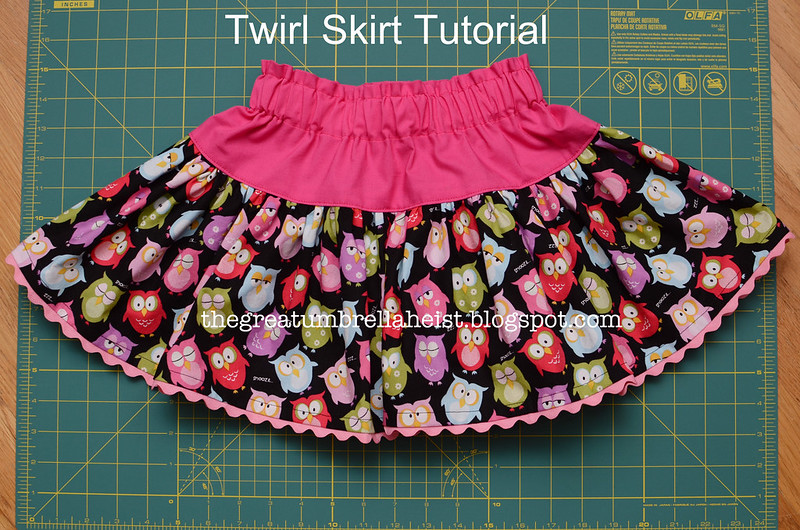
Sew all the way around. I usually try to smooth down the gathering as I sew to keep it from looking messy or pulled in places. I then sew a zigzag stitch inside to keep fraying to a minimum. I also always sew a top stitch. Here's what your skirt should look like when you finish with this step.
Step 7 - Insert the elastic for the waistband
Here's where you will need a fairly accurate measurement of your child's waist. Maybe have her wear another skirt to see where it falls before you measure. As I mentioned in the pattern tutorial, my girls tend to wear their skirts around their hips. I always stretch and pull the elastic a few times before I measure and cut it and I usually only add a quarter of an inch or so onto the waist measurement. So, for example, if the waist measurement is 20 inches, I'll cut the elastic at 20 1/4 inches.
Attach one end of the elastic to a bodkin and pull it on through the casing. Be careful not to twist the elastic or you will end up with a lumpy waistband. After pulling the elastic through, slightly overlap both ends and sew together. I usually use a zigzag stitch and go crazy. Haven't had one fall apart yet.

Step 8 - Finish off the casing
You now want to push and pull the fabric of the waistband to the front of the skirt as much as possible so that you can finish sewing down that hem on the casing. You don't want there to be any gathering around that open part. I usually have one of my girls try on the skirt first (without the pins in it, of course) to make sure that the elastic is tight enough. I find that if the skirts are heavy, like my double layer twirl, the waistband needs to be tighter or it slides down too much.

When sewing the casing closed, take it slow and smooth it down as you go.
Step 9 - Enjoy!
8 comments:
LOVE IT! Thanks for the quick tutorial. I've been making skirts and dresses for my girls for awhile now and I always love how you add rick rack to yours to make them even more special. I much prefer your way of encasing it rather than sewing it on after the hem is complete.
Love this skirt and your tutorial is awesome! Thanks!
Would it be too hard for you to do a quick how to on the gathering part? I have basic sewing skills and can follow everything except I'm not exactly sure how to do the gathering and make it look like yours.
You make it sound so easy!!
Beautiful! Makes me wish I had twin girls and not twin boys! ;)
It is easy!!
Anon - It may be hard for me to do w/out photos. Gathering is extremely tedious. I hold the thread ends in one hand and push the fabric to the middle of the skirt. You have to do it is small sections and make sure that you spread the gathering out so that it is even all the way across. When I pin it to the waistband, I use a lot of pins - probably one every inch.
Thanks for posting this! I pinned it on pinterest but I've been a longtime reader (and seamstress) and just wanted to say thank you! This will make my little cousin's valentine's skirt a piece of cake (:
Saw your cute skirt on pinterest. I am making several for my 7 month old granddaughter. Thanks for the great directions and photos. Joined your blog, love your stories too.
I finally had a chance to sew this skirt after admiring your many versions for awhile now. I am not a very experienced sewer but have tackled a few projects over the years. This was my 2nd attempt at a skirt for my daughter and it didn't turn out so bad. Thank you for posting such an easy to follow tutorial. I was able to sew this up last night after my daughter went to bed and she wore it to school today as part of her "Christmas Sweater" ensemble. I may have to tackle another. :) Merry Christmas!
Post a Comment